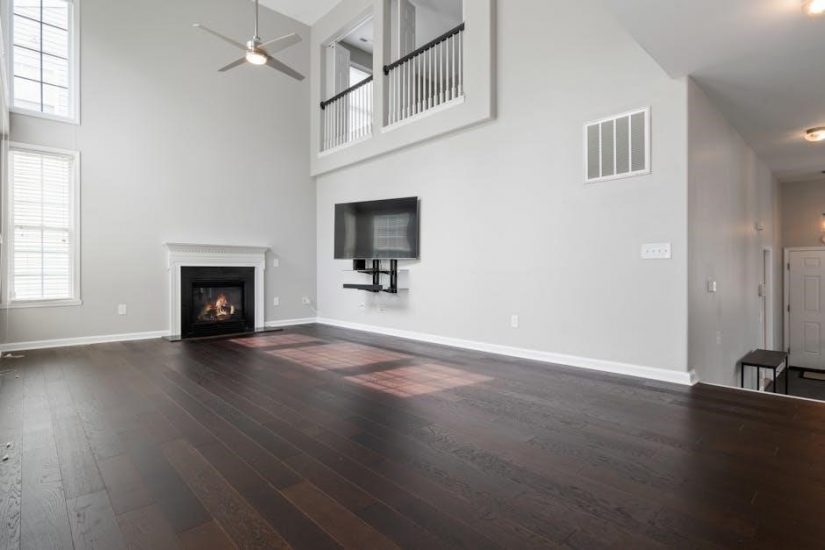
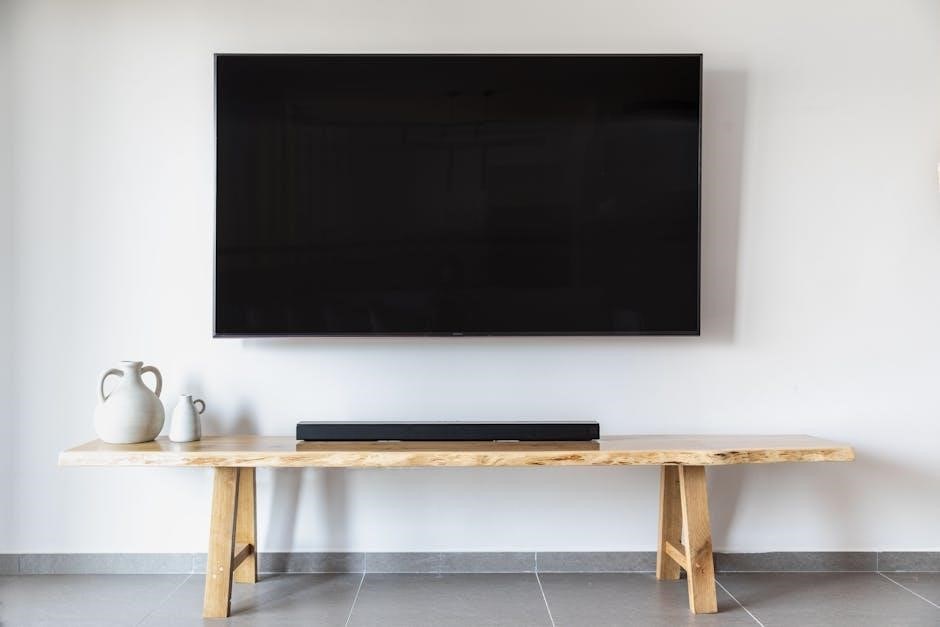
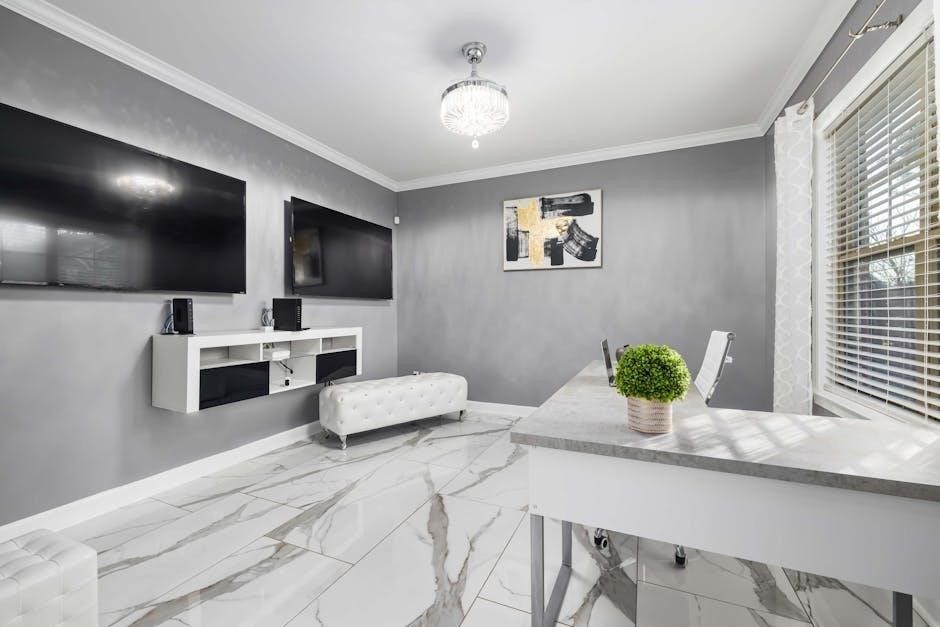
Perlegear TV mounts offer a sturdy, versatile solution for securely mounting TVs of various sizes. Their wide compatibility, easy installation, and adjustable features ensure a seamless setup experience.
Understanding the Basics of TV Mounting
TV mounting involves securely attaching your television to a wall or surface, ensuring stability and safety. Key considerations include wall type, VESA patterns, weight limits, and cable management. A stud finder is essential for locating wall studs to anchor the mount properly. Proper alignment and leveling are critical to prevent the TV from tilting or falling. Understanding these basics ensures a safe and visually appealing installation. Always follow manufacturer guidelines and double-check all connections for a secure setup. This foundational knowledge is crucial for a successful and stress-free mounting experience.
Choosing the Right TV Mount for Your Needs
Selecting the right TV mount involves considering screen size, weight, and VESA patterns. Perlegear mounts offer wide compatibility, supporting various TV sizes and ensuring secure installation for optimal viewing.
Wide Compatibility of Perlegear TV Mounts
Perlegear TV mounts are designed to fit a wide range of TV sizes, from 26 to 50 inches, and support weights up to 55 lbs. They accommodate various VESA patterns, ensuring compatibility with most flat and curved screens. This versatility makes Perlegear mounts a practical choice for different home entertainment setups, providing a secure and stable installation for both TVs and monitors. Their adaptability ensures optimal performance across various brands and models, making them a reliable option for consumers seeking durability and convenience.
Considering VESA Patterns and Weight Limits
Before installing, ensure your TV’s VESA pattern matches the mount’s compatibility, typically ranging from 75x75mm to 300x300mm. Check the weight limit, up to 55 lbs, to confirm it supports your TV. Proper alignment and weight distribution are crucial for stability. Refer to your TV’s manual for exact VESA specifications and weight. This step ensures a secure and level installation, preventing any potential issues with balance or safety. Always verify these details to guarantee a reliable mounting solution for your device.
Preparing for Installation
Gather tools like a stud finder, drill, and screwdriver. Read the TV’s manual for VESA patterns and weight limits. Plan the mounting location carefully for optimal viewing and stability.
Gathering Necessary Tools and Equipment
To ensure a smooth installation, gather essential tools like a stud finder, drill, screwdriver, and level. These tools help locate wall studs and secure the mount properly. Additionally, keep the provided hardware, such as bolts and screws, within reach. A pencil for marking drill locations and a measuring tape for accurate placement are also recommended. Having all tools ready beforehand saves time and prevents delays during the mounting process, ensuring a professional-like result for your Perlegear TV mount setup.
Reading the TV’s User Manual for VESA Bolt Patterns
Consulting your TV’s user manual is crucial for identifying the correct VESA bolt pattern. This information ensures compatibility with the Perlegear mount. VESA patterns vary, so confirming the exact measurements prevents installation issues. Locate the section in the manual that specifies the bolt spacing and weight capacity. Double-checking this data guarantees a secure and proper fit, avoiding potential damage to your TV or wall. This step is essential for a successful and safe mounting process using Perlegear TV mount instructions.
Locating Wall Studs for Secure Installation
Using a stud finder, locate wall studs behind drywall to ensure secure installation. Mark the stud locations to align the mount properly for safety and stability.
Using a Stud Finder for Accurate Placement
Turn on the stud finder and slowly move it across the wall to detect wooden studs. Mark the edges of detected studs with a pencil for precise alignment. Ensure the marks are accurate by double-checking the stud locations. Proper placement prevents damage and ensures the mount’s stability. Align the TV mount’s holes with the marked studs for a secure installation. This step is crucial for safety and durability, especially for heavier TVs. Always verify the stud finder’s accuracy for reliable results.
Addressing Scenarios Without Aligned Wall Studs
If wall studs are not aligned with the mount, consider attaching a plywood panel to the wall via existing studs. Secure the mount to the plywood for stability. Alternatively, use toggle bolts or molly screws for drywall support; Ensure the plywood is large enough to span multiple studs for added strength. This method provides a reliable solution when studs are not positioned ideally, ensuring the TV remains securely mounted and balanced. Always follow safety guidelines to avoid wall damage or mount failure.
Mounting the Bracket on the Wall
Ensure the wall bracket is aligned with the marked studs. Drill pilot holes, then secure the bracket using wall anchors or screws. Tighten firmly for stability.
Marking the Wall and Drilling Pilot Holes
Use a stud finder to locate wall studs and mark their positions. Align the wall bracket with these marks, ensuring it matches the TV’s VESA pattern. Lightly pencil the screw holes. Drill pilot holes into the drywall or directly into studs for added stability. Use a level to ensure the bracket is straight. Avoid applying too much pressure, which could damage the wall. Double-check the markings before drilling to ensure accuracy and proper alignment with the TV mount.
Securing the Mounting Bracket
Insert screws into the pilot holes and tighten them firmly using a screwdriver or drill. Ensure the bracket is flush against the wall and evenly aligned. For added stability, especially on drywall, consider using wall anchors. Tighten the screws in a star pattern to avoid uneven pressure. Once secured, test the bracket’s stability by gently tugging on it. Make sure it holds firmly without shifting. This ensures a safe and durable installation for your TV, preventing any potential damage or accidents.
Attaching the Brackets to the TV
Attach the TV brackets by aligning them with the VESA mounting points. Secure with provided screws, ensuring a tight fit. Double-check alignment for proper installation.
Removing and Reattaching TV Brackets
Removing and reattaching TV brackets is essential for alignment adjustments. Gently detach the brackets from the TV, ensuring screws are loosened but not removed. Reattach by aligning VESA holes. Tighten screws gradually to avoid uneven pressure. Double-check the TV’s manual for specific instructions. Proper reattachment ensures stability and prevents damage to the TV or mount. Always use the provided hardware for secure fitting. This step is crucial for achieving a balanced and safe installation.
Adjusting the Level Fasteners for Proper Alignment
After attaching the brackets, adjust the level fasteners to ensure the TV is perfectly aligned. Use a screwdriver to tighten or loosen the fasteners until the TV is level. Check alignment using a spirit level for accuracy. Proper adjustment prevents tilting and ensures a stable installation. Make sure all screws are securely tightened but avoid over-tightening, which could damage the TV or brackets. This step ensures optimal viewing angles and a professional finish. Always refer to the TV’s manual for specific alignment recommendations.

Final Installation and Cable Management
Once mounted, organize cables using clips or conduits for a sleek appearance. Test the mount’s stability and adjustability to ensure smooth operation and secure positioning.
Hiding Wires and Cables for a Clean Look
Hiding wires and cables is essential for a professional finish. Use cable clips or adhesive-backed cable strips to secure wires along the wall or behind furniture. For a sleeker look, consider installing in-wall conduits or running cables through the wall. Route all power cords and HDMI cables neatly behind the mount. Ensure cables are secured tightly to avoid sagging or damage. For added convenience, install an outlet behind the TV to eliminate visible power cords. This step enhances both safety and aesthetics, ensuring a polished installation.
Testing the Mount’s Stability and Adjustability
After installation, test the mount’s stability by gently rocking the TV and checking for any wobbling. Ensure the mount supports the TV’s weight and size within specified limits. Adjust the level fasteners to achieve perfect alignment and balance. Verify that the mount allows smooth tilting, swiveling, or rotating functions, depending on the model. Ensure all cables are securely hidden to prevent interference. Finally, double-check the mount’s hold on the wall studs and the TV brackets for long-term durability and safety.